Halloween No Bake Cheesecake
If you’re looking for a fun and festive dessert that will wow your friends and family this Halloween, you’ve come to the right place! This Halloween No Bake Cheesecake is not only delicious but also incredibly simple to whip up. Perfect for busy weeknights or those cozy family gatherings, this treat comes together in less than 10 minutes—leaving you plenty of time to enjoy the spooky season!
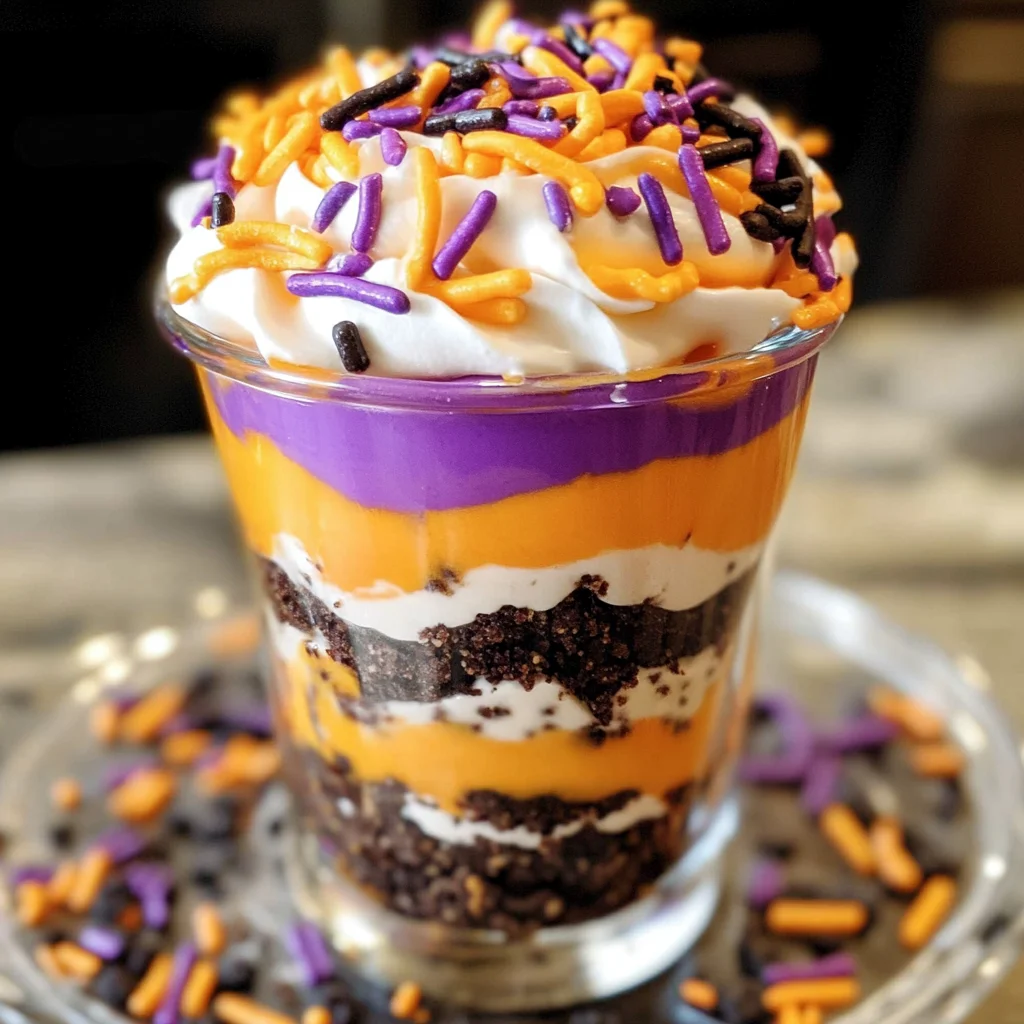
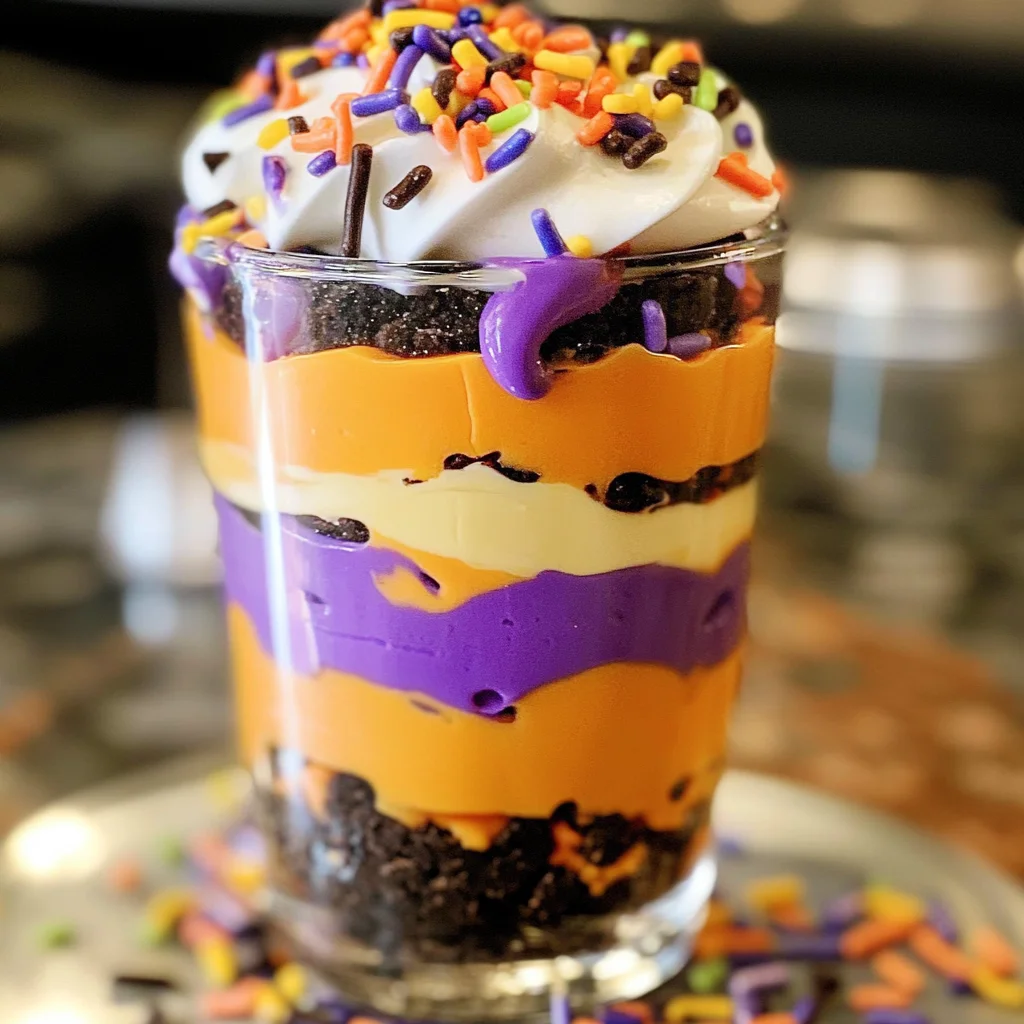
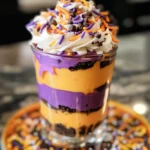
What makes this cheesecake extra special is its vibrant orange and purple layers. It’s a delightful nod to all things Halloween while being light and creamy. Whether you’re hosting a party or just want something sweet to celebrate the fall season, this delightful no-bake dessert is sure to be a showstopper.
Why You’ll Love This Recipe
- Quick preparation: In just 10 minutes, you can have this cheesecake ready to chill!
- No baking required: That’s right! Skip the oven and keep your kitchen cool with this easy no bake recipe.
- Kid-friendly fun: The vibrant colors and festive sprinkles make it a hit with kids (and the kid at heart).
- Make ahead convenience: Just prepare it a few hours in advance, and you’re all set for your gathering!
- Decadent flavor: Rich cream cheese combined with sweet whipped cream creates an irresistible dessert.
Ingredients You’ll Need
Let’s gather some simple, wholesome ingredients that you probably already have at home. This Halloween No Bake Cheesecake features layers of creamy goodness that are sure to impress!
For the Cheesecake Filling
- 2 cups heavy whipping cream
- 1 cup powdered sugar
- 1 teaspoon vanilla extract
- 8 ounces cream cheese (softened)
- orange gel food coloring
- purple gel food coloring
For the Crust
- 8 Oreo cookies
For Topping
- sprinkles
Variations
This recipe is so flexible—it allows for lots of creativity! Feel free to mix things up or add your personal touch with these fun variations:
- Change up the colors: Swap out orange and purple for your favorite colors or even seasonal themes.
- Use different cookies: Try using chocolate graham crackers or another cookie instead of Oreos for unique flavors.
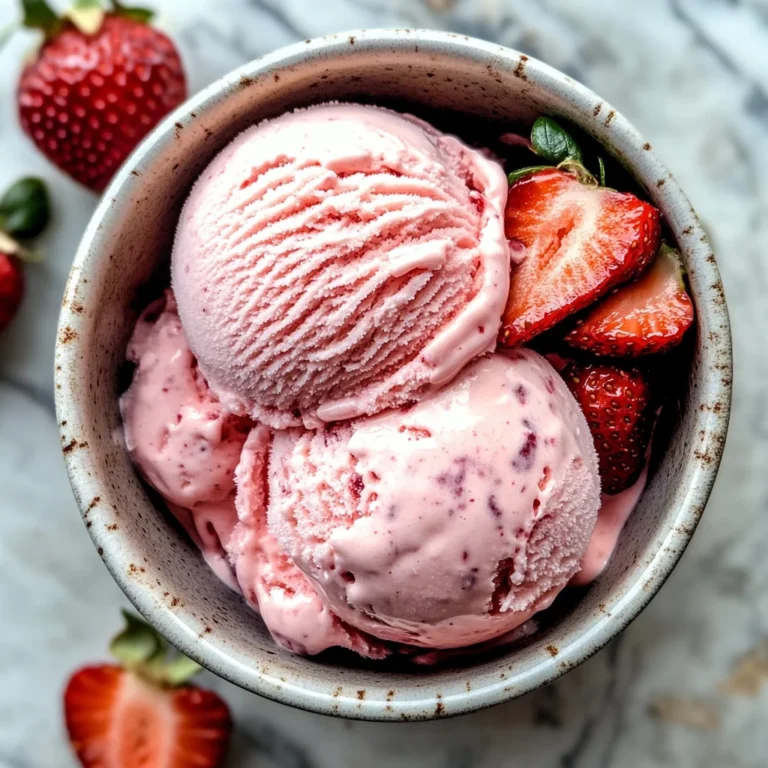
- Add fruit puree: Swirl in some strawberry or raspberry puree for an added fruity twist!
- Make it gluten-free: Substitute traditional Oreos with gluten-free versions for a friendly alternative.
How to Make Halloween No Bake Cheesecake
Step 1: Whip the Cream
Start by adding heavy whipping cream to a mixer bowl. Beat it at medium speed until it begins to thicken—this is crucial as it lays the foundation for your fluffy cheesecake texture! Once you see soft peaks forming, switch to high speed until stiff peaks form. Then, add in the powdered sugar and vanilla extract, mixing until fully incorporated.
Step 2: Prepare the Cream Cheese Mixture
In the same mixer bowl (no need to wash it), add your softened cream cheese. Beat it on medium speed until it’s light and fluffy—around 2-3 minutes. Mixing well here ensures that there are no lumps in your cheesecake filling!
Step 3: Combine Whipped Cream and Cream Cheese
Take the larger portion of sweetened whipped cream from earlier and fold it into the bowl with your cream cheese mixture. Mix at medium speed until everything is well combined. This step is key because it gives your cheesecake that light, airy texture we all love.
Step 4: Color Your Mixtures
Now comes the fun part—adding color! Separate your mixture into two bowls. Add 8-10 drops of orange gel food coloring into one bowl and do the same with purple in another bowl. Give each bowl a good stir using separate spoons; this keeps those beautiful colors distinct.
Step 5: Prepare Piping Bags
Spoon each colored filling into separate piping bags along with any reserved whipped cream. This will allow you to create those stunning layers when assembling your cheesecake.
Step 6: Crush Those Cookies!
Place your Oreo cookies into a zip-top bag, squeeze out extra air, and seal tightly. Use a rolling pin to crush them into fine crumbs—this will serve as our delicious crust base.
Step 7: Assemble Your Cheesecakes
It’s time to layer! Start by spooning crushed Oreo cookies into each serving glass as a base. Then, pipe in alternating layers of orange and purple cheesecake filling—what a sight! Finish off each glass with whipped cream on top and sprinkle generously with colorful sprinkles.
Step 8: Chill Before Serving
Finally, pop these beauties into the fridge for about 3 hours before serving. This chilling time helps everything set beautifully, making every bite even more delightful!
Enjoy sharing this Halloween No Bake Cheesecake with friends and family—it’s bound to become a cherished recipe in your fall festivities!
Pro Tips for Making Halloween No Bake Cheesecake
Creating the perfect Halloween No Bake Cheesecake is easier than you think, especially with these handy tips!
-
Use chilled equipment – Before you start mixing, chill your mixing bowl and beaters in the fridge. This helps the cream whip up faster and achieve those beautiful stiff peaks.
-
Soften your cream cheese well – Take the cream cheese out of the fridge ahead of time to soften it. This ensures it blends smoothly with the whipped cream, giving your cheesecake a creamy texture without lumps.
-
Be mindful of food coloring – When adding gel food coloring, start with fewer drops than you think you need. You can always add more to achieve your desired shade! This prevents over-coloring and helps maintain that vibrant look.
-
Layer carefully – As you alternate layers of orange and purple filling, take your time piping into the glasses. This creates those lovely defined layers that make your dessert look extra special.
-
Chill thoroughly before serving – Don’t skip the chilling step! Allowing the cheesecake to set for at least 3 hours helps all those wonderful flavors meld together and makes for a firmer texture when served.
How to Serve Halloween No Bake Cheesecake
Presenting your Halloween No Bake Cheesecake can be just as fun as making it! Here are some creative ideas to impress your guests.
Garnishes
- Whipped cream clouds – A dollop of freshly whipped cream on top adds a light and fluffy finish that enhances both the look and taste.
- Chocolate spiders – Use chocolate candies or melted chocolate to create spider shapes to place on top. This adds a spooky touch perfect for Halloween!
- Candy corn accents – Scatter a few candy corn pieces around each glass for a pop of color and sweetness that ties in beautifully with the Halloween theme.
Side Dishes
-
Fresh Fruit Salad – A mix of seasonal fruits like apples, pears, and grapes offers a refreshing contrast to the rich cheesecake.
-
Pumpkin Spice Cookies – These soft, spiced cookies bring in cozy fall flavors that complement the cheesecake’s festive vibe perfectly.
-
Chocolate Covered Pretzels – The salty crunch from pretzels paired with sweet chocolate provides a delightful textural contrast alongside your creamy dessert.
With these tips for serving and garnishing your Halloween No Bake Cheesecake, you’re sure to wow everyone at your gathering! Enjoy making this scrumptious treat, and don’t forget to share the spooky spirit with friends and family!
Make Ahead and Storage
This Halloween No Bake Cheesecake is perfect for meal prep, making it an ideal treat to whip up ahead of time for your spooky celebrations. Here’s how to store it and keep it fresh!
Storing Leftovers
- Keep any leftover cheesecake covered in the refrigerator.
- Use an airtight container or plastic wrap to prevent drying out.
- Consume leftovers within 3 days for the best taste and texture.
Freezing
- This cheesecake can be frozen if you want to prepare it well in advance.
- Wrap individual servings in plastic wrap, then place them in a freezer-safe bag.
- Store in the freezer for up to 1 month. Thaw in the fridge overnight before serving.
Reheating
- There’s no need to reheat this no-bake cheesecake, as it’s best served chilled.
- If you prefer a slightly softer texture, let it sit at room temperature for about 10 minutes before serving.
FAQs
If you have questions about making this delicious dessert, you’re not alone! Here are some common queries:
Can I make Halloween No Bake Cheesecake without cream cheese?
Yes! You can substitute cream cheese with a dairy-free alternative like cashew cream or coconut cream for a lighter version.
How long does Halloween No Bake Cheesecake last?
When stored properly in the refrigerator, this cheesecake lasts up to 3 days. For longer storage, consider freezing individual portions.
What if I don’t have gel food coloring?
You can use natural food colorings derived from fruits and vegetables, like beet juice for purple or carrot juice for orange, to achieve festive colors.
Final Thoughts
I hope this Halloween No Bake Cheesecake recipe brings a little extra joy to your fall festivities! It’s not only easy to make but also a delightful treat that will impress your guests. Enjoy every bite as you create spooky memories with family and friends. Happy baking!
Halloween No Bake Cheesecake
Whip up this easy Halloween No Bake Cheesecake for a delightful treat that will wow your guests. Perfect for parties—try it today!
- Prep Time: 10 minutes
- Cook Time: 0 minutes
- Total Time: 10 minutes
- Yield: Serves 4
- Category: Dessert
- Method: No Bake
- Cuisine: American
Ingredients
- 2 cups heavy whipping cream
- 1 cup powdered sugar
- 1 teaspoon vanilla extract
- 8 ounces cream cheese (softened)
- Orange gel food coloring
- Purple gel food coloring
- 8 Oreo cookies (or preferred cookie for crust)
- Colorful sprinkles for topping
Instructions
- In a mixing bowl, whip the heavy cream until soft peaks form. Gradually add powdered sugar and vanilla extract, mixing until well combined.
- In a separate bowl, beat softened cream cheese until fluffy. Fold in the whipped cream mixture until smooth.
- Divide the mixture into two bowls. Add orange food coloring to one bowl and purple to the other; mix well.
- Crush Oreo cookies in a zip-top bag to create fine crumbs for the crust.
- Layer crushed cookies in serving glasses followed by alternating layers of orange and purple cheesecake filling.
- Top with whipped cream and colorful sprinkles.
- Chill in the fridge for at least 3 hours before serving.
Nutrition
- Serving Size: 1 glass (150g)
- Calories: 322
- Sugar: 25g
- Sodium: 150mg
- Fat: 25g
- Saturated Fat: 15g
- Unsaturated Fat: 9g
- Trans Fat: 0g
- Carbohydrates: 27g
- Fiber: 1g
- Protein: 3g
- Cholesterol: 70mg