Halloween Mummy Oreo Cookies
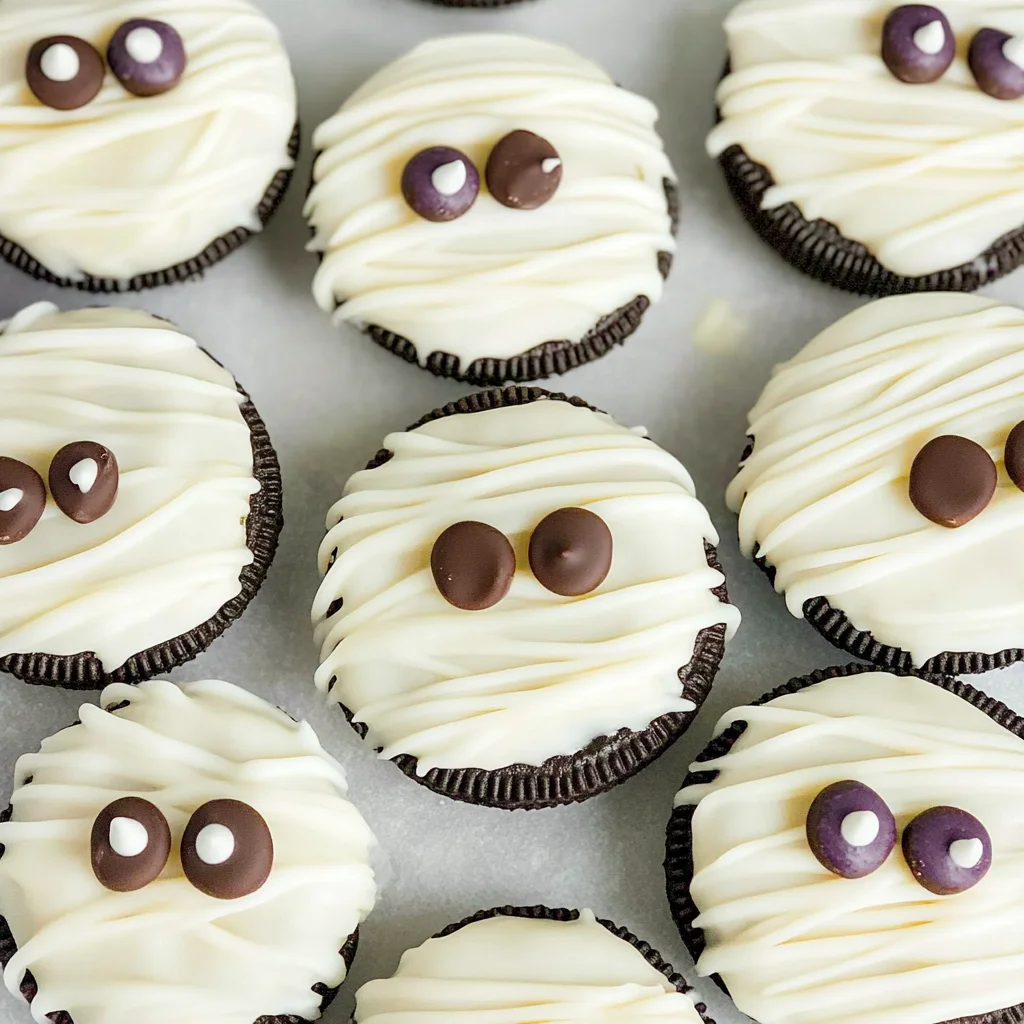
If you’re looking for a fun and festive treat to celebrate Halloween, I have just the recipe for you: Halloween Mummy Oreo Cookies! These delightful cookies are not only easy to make but also bring a sense of whimsy to any gathering. Picture this: creamy Oreo cookies dipped in smooth white chocolate, all dressed up to resemble cute little mummies. They’re perfect for family gatherings, school parties, or even just a cozy night in with loved ones.
What I love most about these Halloween Mummy Oreo Cookies is how simple they are to whip up. Even if you’re not a baking pro, you’ll find this recipe straightforward and enjoyable. Plus, they make lovely gifts or party favors that everyone will adore!
Why You’ll Love This Recipe
- Quick and Easy: With just a few steps, you can create these adorable treats in no time.
- Family-Friendly Fun: Kids will love helping out and getting creative with the decorating!
- Make-Ahead Convenience: Prepare these cookies in advance and store them for a sweet surprise later.
- Customizable Design: Change up the decorations to suit any occasion—Halloween or beyond!
- Delicious Flavor: The combination of Oreo cookies and rich white chocolate is simply irresistible.

Ingredients You’ll Need
These are simple, wholesome ingredients that you likely already have on hand or can easily find at your local grocery store. Gather these goodies, and let’s get started!
- Oreo Sandwich Cookies (your fav flavor)
- 2 cups white chocolate melting wafers
- 2 tablespoons paramount crystals¹
- royal icing eyes
Variations
This recipe is wonderfully flexible! You can customize it based on what you have at home or your personal preferences. Here are some fun ideas:
- Switch Up the Cookies: Use different flavored Oreo cookies like mint or pumpkin spice for an exciting twist.
- Add Sprinkles: Before the chocolate hardens, sprinkle some colorful Halloween sprinkles for extra flair.
- Use Dark Chocolate: For a richer flavor, try dipping the Oreos in dark chocolate instead of white.
- Try Different Toppings: Instead of royal icing eyes, use mini chocolate chips or candy eyeballs!
How to Make Halloween Mummy Oreo Cookies
Step 1: Prepare Your Workspace
Start by lining a baking sheet with parchment paper or a Silpat mat. This step is essential because it prevents the cookies from sticking and makes cleanup super easy later on.
Step 2: Melt the White Chocolate
In a microwave-safe bowl, combine the white chocolate melting wafers with paramount crystals¹. Microwaving them helps achieve that silky smooth consistency we want for our mummies. Heat it on medium power for 30 seconds, then stir gently. Continue microwaving in 15-second increments until fully melted—this ensures you don’t burn the chocolate.
Step 3: Dip the Cookies
Now comes the fun part! Take each Oreo cookie and dip it into the melted white chocolate using a fork or dipping tool. Give it a little tap to shake off any excess coating—this way, you’ll avoid globs of chocolate! Place each dipped cookie on your lined baking sheet while they’re still warm.
Step 4: Decorate Your Mummies
Once all your cookies are dipped and placed on the baking sheet, it’s time to add those adorable royal icing eyes. While the chocolate is still soft, press two royal icing eyes onto each cookie to give them their spooky look.
Step 5: Pipe On Some Wrapping
To create that mummy appearance, pour any leftover melted chocolate into a decorating bag (or sandwich bag) and snip off a tiny corner. Pipe lines back and forth over each cookie to mimic mummy wrappings—but be careful not to cover those precious eyes! Allow everything to set until the chocolate hardens completely.
And there you have it—your very own batch of Halloween Mummy Oreo Cookies! Perfect for sharing (or keeping all to yourself). Enjoy every bite!
Pro Tips for Making Halloween Mummy Oreo Cookies
Creating these delightful Halloween treats is a breeze with a few helpful tips to ensure your cookies come out perfectly every time!
-
Use quality chocolate melting wafers: Opting for high-quality melting wafers will give your mummies a smooth, glossy finish, enhancing their appearance and taste.
-
Don’t rush the melting process: Melting chocolate slowly at medium heat prevents it from seizing or burning, ensuring that you achieve a creamy consistency that’s perfect for dipping.
-
Work in batches: If you’re making a large quantity of cookies, dip them in smaller groups. This way, you’ll have enough time to add the eyes before the chocolate sets.
-
Experiment with different flavors: While classic Oreo cookies are delicious, don’t hesitate to try different flavors like mint or peanut butter. It adds a unique twist that can surprise and delight your guests!
-
Make ahead and store properly: These cookies can be made ahead of time. Store them in an airtight container at room temperature to keep them fresh until it’s time to enjoy!
How to Serve Halloween Mummy Oreo Cookies
Presenting your Halloween Mummy Oreo Cookies is just as fun as making them! Here are some creative ideas to make your treats stand out at any gathering.
Garnishes
- Sprinkle of edible glitter: Add a little sparkle by sprinkling some edible glitter over the cookies before the chocolate hardens. It enhances their festive appeal!
- Cocoa powder dusting: A light dusting of cocoa powder can add depth and contrast to the bright white chocolate, giving your mummies an even spookier look.
Side Dishes
-
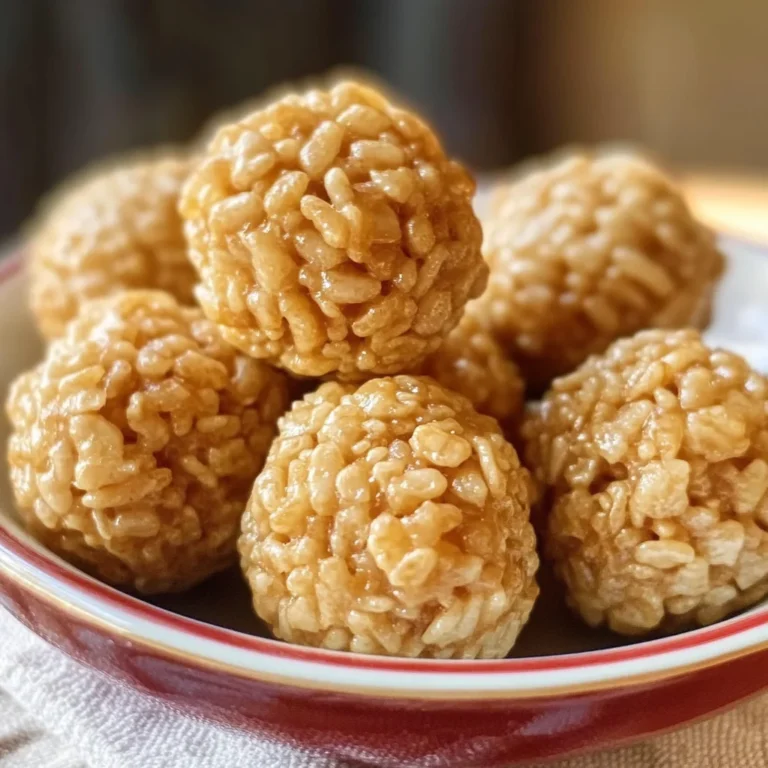
Pumpkin Spice Rice Krispie Treats: These chewy delights bring the warm flavors of fall with pumpkin spice added for extra autumn cheer. They make a great sweet contrast to the crunchy mummies.
-
Ghostly Fruit Skewers: Thread ghost-shaped marshmallows and colorful fruit onto skewers for a refreshing treat that pairs well with the rich cookies. The fruity notes balance out the sweetness perfectly.
-
Witch’s Brew Punch: A spooky green punch made with lemon-lime soda and lime sherbet can be a fun drink option that adds a playful touch to your dessert table.
With these tips and serving suggestions, your Halloween Mummy Oreo Cookies will not only taste great but also become the star of your Halloween festivities! Enjoy every spooky bite!
Make Ahead and Storage
These Halloween Mummy Oreo Cookies are perfect for meal prep! You can make them ahead of time and have a delightful treat ready for any spooky gathering or just to enjoy at home.
Storing Leftovers
- Keep the cookies in an airtight container at room temperature.
- They will stay fresh for up to 3-5 days without losing their charm.
Freezing
- To freeze, place the cookies in a single layer on a baking sheet and freeze until solid.
- Once frozen, transfer them to a freezer-safe container or bag.
- They can be stored in the freezer for up to 2 months.
Reheating
- There’s no need to reheat these cookies, as they are best enjoyed at room temperature right after they’ve set!
- If you prefer a softer cookie, allow them to come to room temperature after freezing.
FAQs
Here are some common questions about making Halloween Mummy Oreo Cookies:
Can I use different flavors of Oreo cookies for this recipe?
Absolutely! Feel free to use any flavor of Oreo that you love. Pumpkin spice or mint could add a fun twist!
How do I decorate Halloween Mummy Oreo Cookies?
You can use melted white chocolate to create mummy wraps over the cookies. Just pipe back and forth while leaving space for the royal icing eyes!
Are Halloween Mummy Oreo Cookies suitable for kids?
Yes! These cookies are fun and easy to make, perfect for kids’ Halloween parties or family activities.
How long do Halloween Mummy Oreo Cookies last?
When stored properly in an airtight container at room temperature, they can last for 3-5 days.
Final Thoughts
I hope you find joy in creating these adorable Halloween Mummy Oreo Cookies! They’re not only fun to make but also a delightful treat that brings smiles all around. Whether you’re sharing them with friends or keeping them as your secret stash, I’m sure they’ll be a hit. Happy baking, and enjoy every spooky bite!
Halloween Mummy Oreo Cookies

Get ready to whip up a delightful batch of Halloween Mummy Oreo Cookies that are sure to be the star of your spooky celebrations! These charming cookies feature classic Oreo flavors dipped in smooth white chocolate, adorned with playful royal icing eyes and whimsical mummy wrappings. Perfect for family gatherings, school parties, or cozy evenings at home, this easy-to-follow recipe will have everyone smiling. Plus, it’s a fun activity that kids will love joining in on! Whether you’re looking for a festive treat or a unique gift idea, these Mummy Oreo Cookies offer both deliciousness and creativity.
- Prep Time: 20 minutes
- Cook Time: 10 minutes
- Total Time: 30 minutes
- Yield: Approximately 12 cookies 1x
- Category: Dessert
- Method: Baking
- Cuisine: American
Ingredients
- Oreo Sandwich Cookies (any flavor)
- 2 cups white chocolate melting wafers
- 2 tablespoons paramount crystals
- Royal icing eyes
Instructions
- Line a baking sheet with parchment paper.
- In a microwave-safe bowl, melt the white chocolate melting wafers with paramount crystals on medium power until smooth, stirring often.
- Dip each Oreo cookie into the melted chocolate using a fork; tap off excess and place on the lined baking sheet.
- While the chocolate is still warm, press two royal icing eyes onto each cookie.
- Pipe leftover melted chocolate over each cookie to create mummy wrappings without covering the eyes.
- Allow cookies to set completely before serving.
Nutrition
- Serving Size: 1 cookie (30g)
- Calories: 150
- Sugar: 10g
- Sodium: 50mg
- Fat: 8g
- Saturated Fat: 4g
- Unsaturated Fat: 3g
- Trans Fat: 0g
- Carbohydrates: 19g
- Fiber: 1g
- Protein: 1g
- Cholesterol: 0mg