Halloween Pudding Cups
If you’re looking for a fun and festive treat that will delight kids and adults alike, you’ve come to the right place! These Halloween Pudding Cups are not only a visual treat but also a deliciously spooky way to celebrate the season. Layered with rich chocolate cake, creamy pudding, and topped with colorful sprinkles, they’re perfect for Halloween parties or family gatherings. Trust me, once you bring these to the table, everyone will be eagerly digging in!
What makes this recipe even more special is its simplicity. You can whip up these delightful cups in just a few easy steps, making it an excellent choice for busy weeknights or last-minute party prep. Plus, they’re customizable—so everyone can enjoy their own unique Halloween creation!
Why You’ll Love This Recipe
- Easy to make: This recipe requires minimal preparation and uses simple ingredients you likely already have at home.
- Family-friendly fun: Kids love getting involved in the layering process and decorating their own cups!
- Perfect for any occasion: Whether it’s Halloween or just a cozy night in, these pudding cups add a festive touch.
- Make-ahead convenience: You can prepare them ahead of time, making entertaining a breeze!
- Deliciously customizable: The bright colors and toppings allow for creativity—everyone can make their cup uniquely theirs.
Ingredients You’ll Need
To create these delightful Halloween Pudding Cups, gather some simple and wholesome ingredients. They come together easily and make each layer of this dessert truly special.
For the Cake
- 1 15.25 ounce box devils food cake
- Water (plus oil and eggs as directed on the cake box)
For the Pudding
- 2 3.4 ounce boxes white chocolate instant pudding
- 4 cups cold milk
For the Toppings
- 8 ounces whipped topping
- Neon green (and orange and purple food coloring)
- 1 ½ cups crushed Oreo cookies
- Milano cookies
- Halloween candy and sprinkles for decor
- 10 8 ounce clear buckets
Variations
This recipe is wonderfully flexible! Feel free to mix things up based on your taste preferences or what you have on hand.
- Try different cake flavors: Substitute devils food cake with chocolate or even vanilla for a lighter option.
- Experiment with pudding flavors: Use butterscotch or vanilla pudding instead of white chocolate for a unique twist.
- Add fruits: Layer in some fresh fruit like strawberries or bananas between the cake and pudding layers for added flavor.
- Change up the decorations: Use themed candies or homemade cookies to personalize your pudding cups even more!
How to Make Halloween Pudding Cups
Step 1: Bake the Cake
Start by preheating your oven to 350 degrees Fahrenheit. Then, prepare your baking dish by lightly greasing it. In a large bowl, combine your cake mix with water, oil, and eggs according to the instructions on the box. Pour this mixture into your prepared baking dish and bake as directed until fully cooked through. Let it cool completely on a wire rack before slicing it into bite-sized squares. This step is crucial because a well-baked cake will provide structure to your pudding cups!
Step 2: Prepare the Pudding
While your cake is cooling down, it’s time to whip up that creamy pudding! In another bowl, combine both boxes of white chocolate instant pudding with cold milk. Stir until it thickens nicely; this usually takes just a few minutes. Once thickened, divide it into three bowls—this is where we’ll add our fun colors! Depending on how vibrant you want those layers to be, add neon food coloring to create beautiful shades that scream Halloween!
Step 3: Assemble Your Pudding Cups
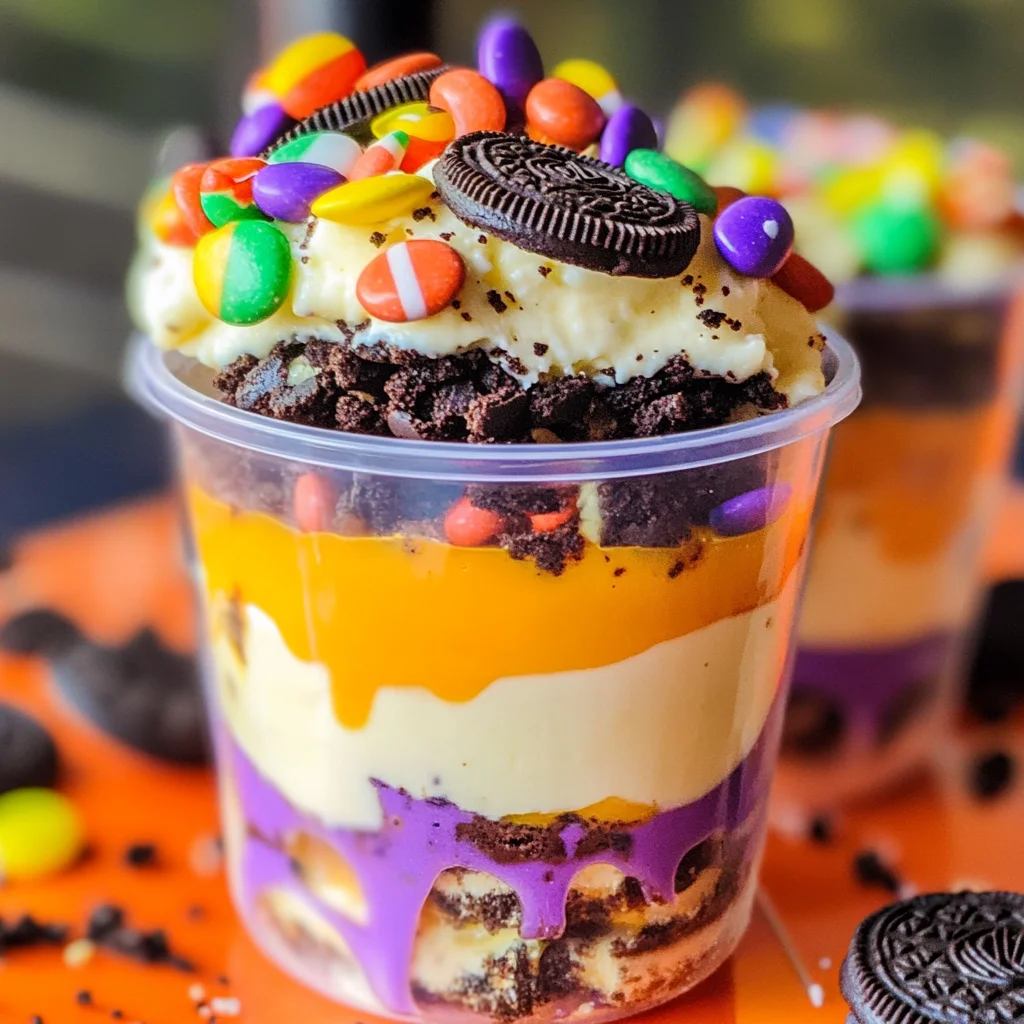
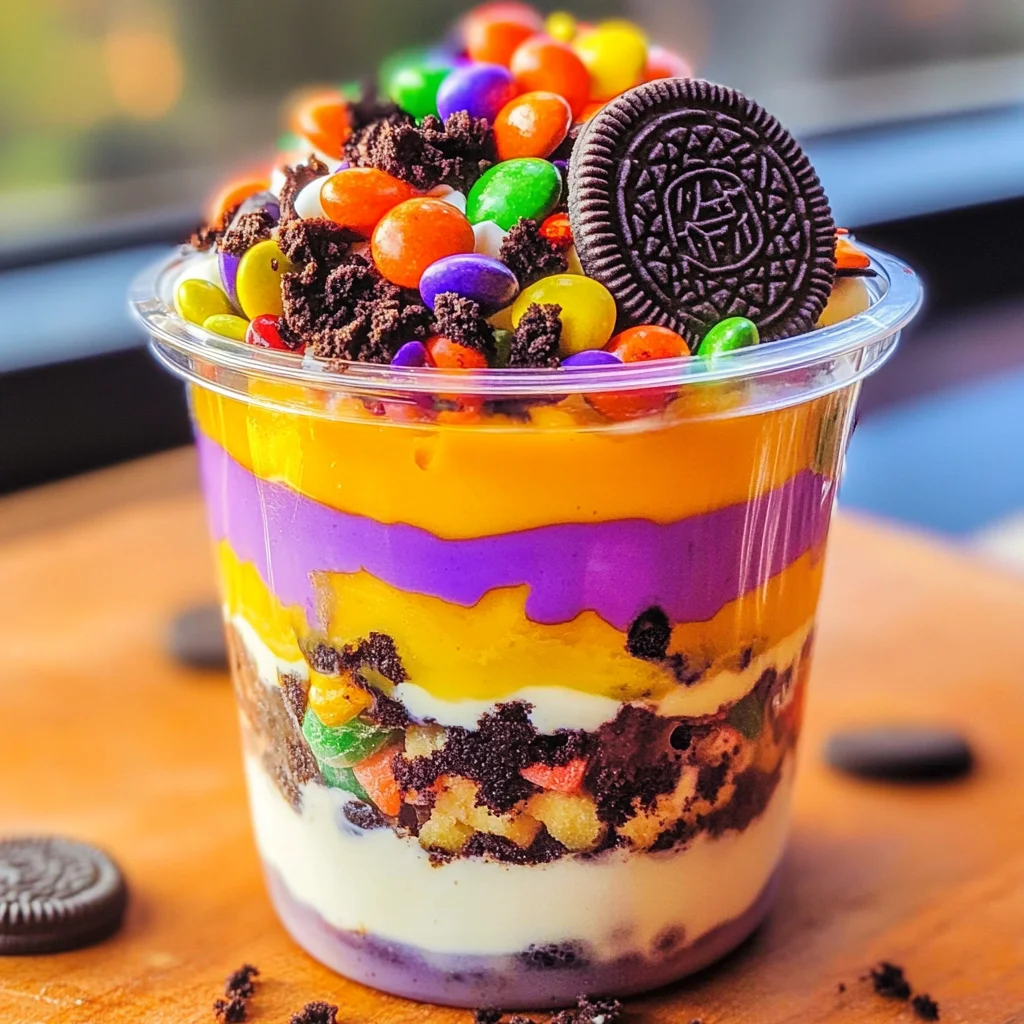
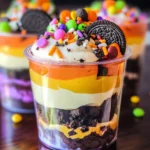
Now comes the fun part—layering! In each clear bucket, start by adding a layer of chocolate cake squares at the bottom. Follow this with a layer of one color of pudding. Repeat this process until each cup is filled with layers of deliciousness! Top them off with crushed Oreo cookies for that classic “dirt” effect.
Step 4: Decorate!
To finish off your spooky treats, get creative! Use whipped topping as “ghosts,” Milano cookies as gravestones, and sprinkle those Halloween candies all over for extra flair! This step allows you to express yourself—let your imagination run wild!
And there you have it—your very own Halloween Pudding Cups ready to impress! Enjoy making memories as much as you enjoy eating these delightful treats!
Pro Tips for Making Halloween Pudding Cups
Making these Halloween Pudding Cups can be a fun and creative experience, especially with a few helpful tips to guide you along the way!
-
Use fresh ingredients: Ensure your cake mix and pudding are within their expiration dates for the best flavor and texture. Fresh ingredients make a noticeable difference in taste.
-
Experiment with colors: Don’t hesitate to mix different shades of food coloring for a more vibrant effect. The more colorful your layers, the more festive your dessert will look!
-
Chill before serving: Letting the pudding cups chill in the fridge for at least an hour before serving will help them set nicely. This also enhances the flavors and makes each layer easier to scoop.
-
Get creative with layers: Feel free to swap out the colors or even add different flavors of pudding. Vanilla or butterscotch can give your cups a unique twist while still keeping that Halloween theme.
-
Engage kids in decoration: If you’re making this dessert with children, let them help decorate the cups with candy and sprinkles. It’s a great way to spend time together and sparks their creativity!
How to Serve Halloween Pudding Cups
Presenting your Halloween Pudding Cups can be just as fun as making them! Here are some ideas to make your dessert table pop.
Garnishes
- Edible googly eyes: These add a playful touch — simply place them on top of the whipped topping for a spooky yet cute effect.
- Chocolate spider rings: Nestle these atop each cup for an extra creepy vibe that kids will love.
- Candy corn: Sprinkle some candy corn on top for added color and sweetness, enhancing both presentation and flavor.
Side Dishes
-
Spooky Fruit Salad: A mix of seasonal fruits like oranges, grapes, and blackberries tossed together creates a refreshing side that complements the richness of the pudding cups.
-
Witch’s Brew Soup: A vibrant green pea soup served warm can provide a savory contrast to your sweet dessert while keeping up with the Halloween theme.
-
Ghostly Veggie Platter: Arrange assorted vegetables like carrots, cucumbers, and bell peppers into ghost shapes using dip as “graveyard” soil. It’s a healthy option that everyone will enjoy.
-
Cauldron Cheese Dip: Serve this creamy cheese dip alongside tortilla chips shaped like bats or ghosts for a fun appetizer that rounds out your Halloween gathering perfectly.
With these tips and serving ideas, your Halloween Pudding Cups will not only taste fantastic but also look like they belong on a festive dessert table! Happy haunting!
Make Ahead and Storage
These Halloween Pudding Cups are perfect for meal prep, making them a delightful addition to your party planning or festive gatherings. You can easily prepare the components in advance, allowing you to assemble them just before serving.
Storing Leftovers
- Place any leftover pudding cups in an airtight container.
- Store in the refrigerator for up to 3 days.
- If possible, keep the toppings separate until ready to serve for maximum freshness.
Freezing
- While these pudding cups are best enjoyed fresh, you can freeze the layers separately.
- Store the cake squares and pudding in freezer-safe containers.
- Thaw in the refrigerator overnight when ready to use.
Reheating
- There’s no need to reheat these dessert cups; simply enjoy them chilled from the refrigerator!
- If you have leftover cake, you can gently warm slices in the microwave for about 10-15 seconds if desired.
FAQs
Got questions? Here are some answers about Halloween Pudding Cups that might help!
Can I make Halloween Pudding Cups ahead of time?
Absolutely! You can prepare all the ingredients a day or two before your event. Just assemble them when you’re ready to serve.
What variations can I try with Halloween Pudding Cups?
You can use different flavors of pudding or cake mix, such as vanilla or red velvet. Feel free to get creative with toppings like gummy worms or candy corn!
How long do Halloween Pudding Cups last?
When stored properly in an airtight container, they will stay fresh for up to 3 days in the fridge.
Are Halloween Pudding Cups suitable for parties?
Yes! These layered desserts not only look festive but also serve well at parties. Everyone loves their spooky theme!
Can I use regular pudding instead of instant pudding?
Instant pudding is recommended for its quick preparation time and creamy texture without cooking. Regular pudding may require additional steps that could complicate this easy recipe.
Final Thoughts
I hope you enjoy making these delightful Halloween Pudding Cups as much as I do! They’re a fun way to celebrate the season and bring a smile to everyone’s face. Whether you’re hosting a spooky gathering or just want a treat at home, these layered desserts are sure to impress. Enjoy every bite and happy haunting!
Halloween Pudding Cups
Get ready to celebrate Halloween with these delightful Halloween Pudding Cups! These fun and festive dessert cups combine rich chocolate cake, creamy white chocolate pudding, and colorful toppings to create a spooky treat that both kids and adults will love. With layers of deliciousness and an array of decoration options, these pudding cups are perfect for Halloween parties, family gatherings, or just a cozy night in. They’re easy to make, customizable, and can be prepared ahead of time, making them a go-to option for all your festive celebrations!
- Prep Time: 20 minutes
- Cook Time: 30 minutes
- Total Time: 50 minutes
- Yield: Serves approximately 10 cups 1x
- Category: Dessert
- Method: Baking
- Cuisine: American
Ingredients
- 1 box devils food cake mix (15.25 ounces)
- Water (plus oil and eggs as directed on the cake box)
- 2 boxes white chocolate instant pudding (3.4 ounces each)
- 4 cups cold milk
- 8 ounces whipped topping
- Neon food coloring (green, orange, purple)
- 1.5 cups crushed Oreo cookies
- Milano cookies (for decoration)
- Halloween candies and sprinkles
Instructions
- Preheat the oven to 350°F. Grease a baking dish and mix the cake ingredients as per package instructions. Bake until cooked through, then cool completely before cutting into squares.
- In a bowl, mix both packages of pudding with cold milk until thickened. Divide into three bowls and add neon food coloring to create three different colors.
- In each clear bucket, layer chocolate cake squares followed by one color of pudding. Repeat until all layers are filled.
- Top with whipped topping for ghosts, sprinkle crushed Oreos for 'dirt,' and add themed candies for extra flair.
Nutrition
- Serving Size: 1 serving
- Calories: 350
- Sugar: 30g
- Sodium: 220mg
- Fat: 15g
- Saturated Fat: 7g
- Unsaturated Fat: 8g
- Trans Fat: 0g
- Carbohydrates: 50g
- Fiber: 2g
- Protein: 5g
- Cholesterol: 50mg