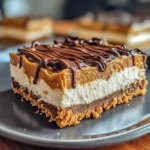
No Bake Peanut Butter Cheesecake Bars
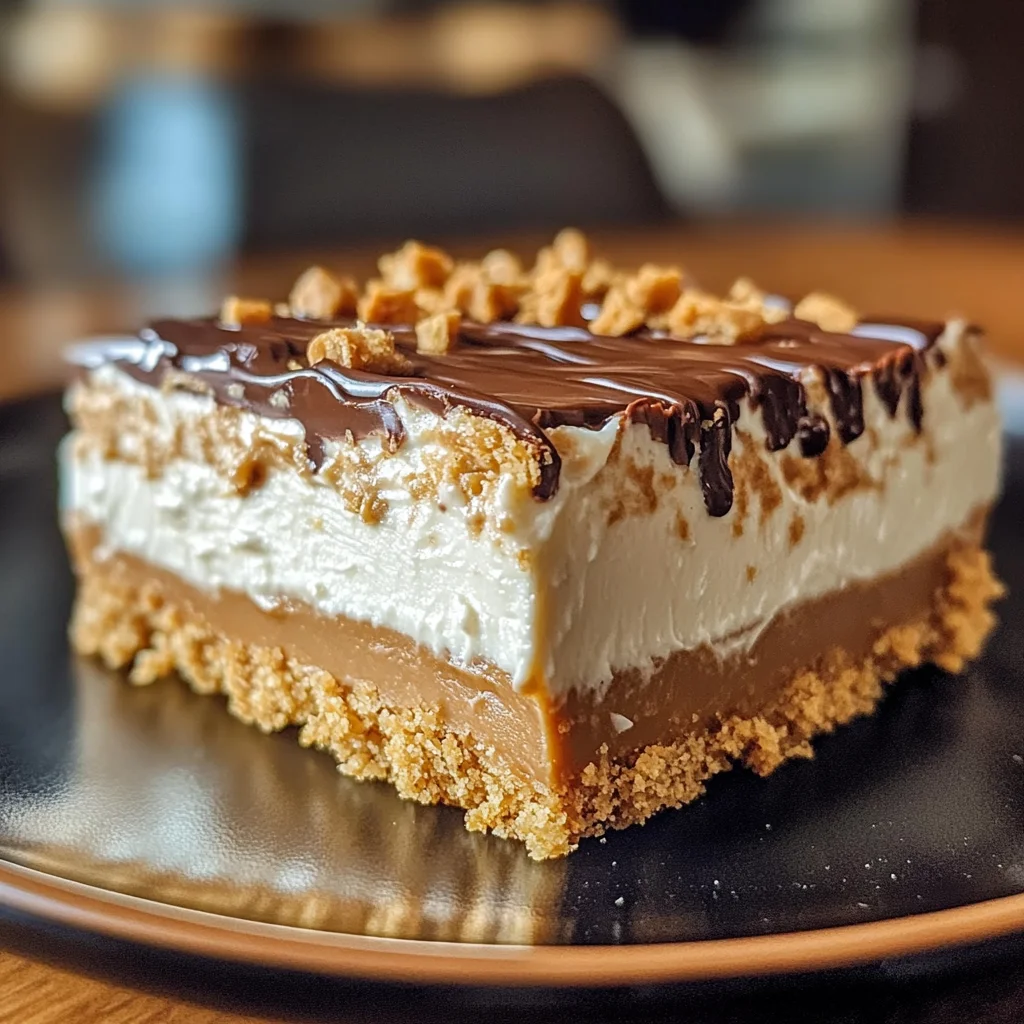
If you’re looking for a sweet treat that’s easy to whip up and sure to please, you’ve come to the right place! No Bake Peanut Butter Cheesecake Bars are one of my absolute favorites. They have a perfect balance of creamy peanut butter goodness and a crunchy graham cracker crust that just melts in your mouth. Plus, the best part? There’s no oven required!
These bars are fantastic for any occasion, whether it’s a busy weeknight dessert or a family gathering. They come together quickly with just a few simple ingredients, making them the ultimate go-to dessert when you want something delicious without the fuss. Trust me; once you make these No Bake Peanut Butter Cheesecake Bars, they will become a staple in your dessert rotation!
Why You’ll Love This Recipe
- Super Easy to Make: With minimal ingredients and no baking involved, you can whip these up in no time!
- Family-Friendly Treat: Kids and adults alike will love the creamy peanut butter flavor—it’s a hit at any gathering.
- Make-Ahead Convenience: These bars can be prepared in advance and stored in the fridge, so they’re ready whenever you need them.
- Versatile Dessert: You can customize them with different toppings or variations to suit your taste.
- Decadent Flavor: Each bite is rich and satisfying, making them the perfect reward after a long day.
Ingredients You’ll Need
Let’s gather our ingredients! Don’t worry; these are all simple and wholesome items that you probably already have on hand.
For the Crust
- 1 ½ cups graham cracker crumbs
- ⅓ cup melted coconut oil or butter
- ¼ cup sugar
For the Cheesecake Filling
- 1 cup cream cheese (softened)
- 1 cup creamy peanut butter
- ½ cup powdered sugar
- 1 teaspoon vanilla extract
- 1 cup whipped coconut cream (or any non-dairy whipped topping)
Optional Topping
- Chocolate drizzle (store-bought or homemade)
Variations
The beauty of No Bake Peanut Butter Cheesecake Bars lies in their flexibility! Here are some fun ideas to change things up:
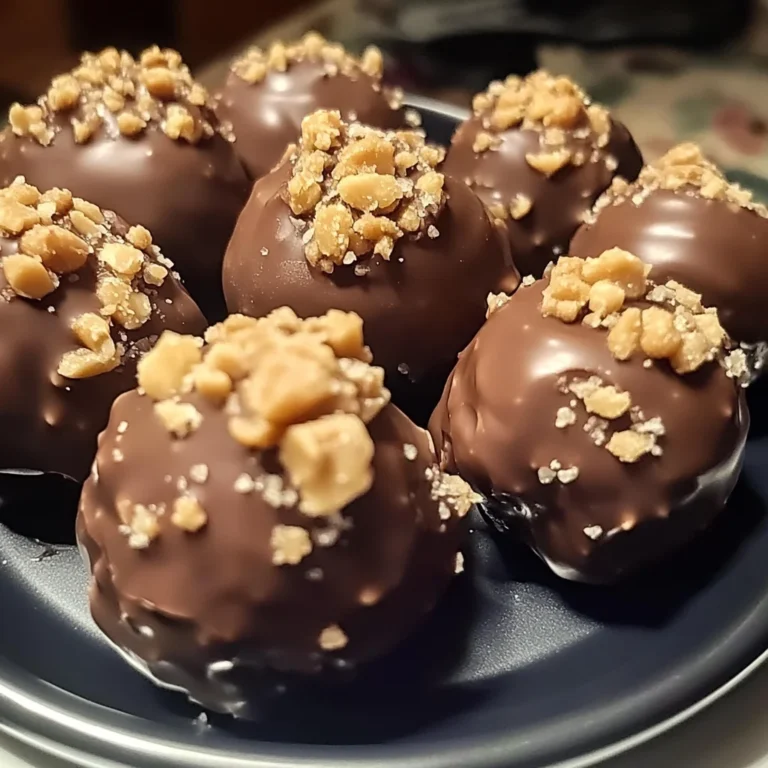
- Add Some Crunch: Mix in chopped nuts like peanuts or almonds for an extra crunch.
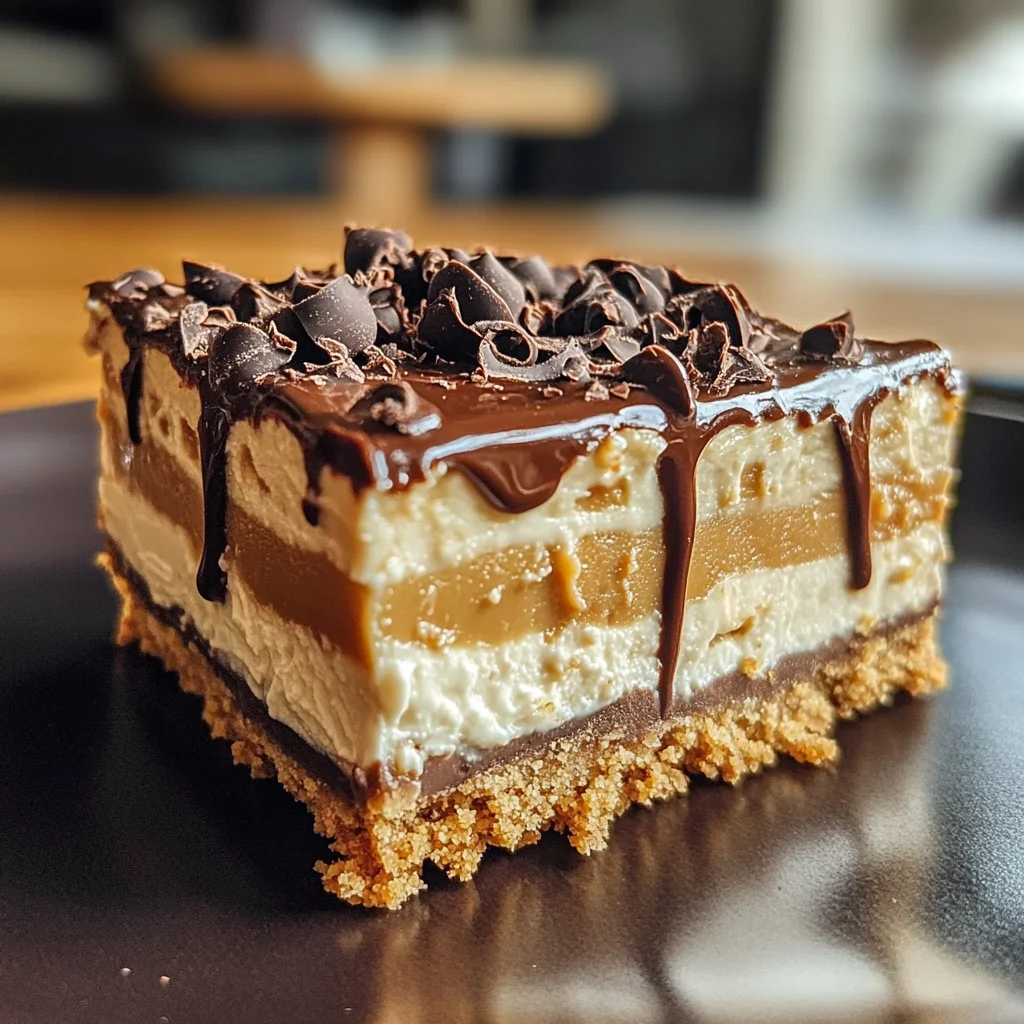
- Go Chocolatey: Fold in mini chocolate chips into the cheesecake filling for a delightful surprise.
- Try Different Nut Butters: Swap out peanut butter for almond or cashew butter for a unique twist.
- Fruit Topping: Top with fresh berries or banana slices for a fruity finish.
How to Make No Bake Peanut Butter Cheesecake Bars
Step 1: Prepare the Crust
Start by mixing together your graham cracker crumbs, melted coconut oil (or butter), and sugar in a bowl. This mixture creates a delicious base that holds everything together. Press it firmly into the bottom of an 8×8 inch pan; this step is essential as it keeps your bars from falling apart later!
Step 2: Make the Cheesecake Filling
In another bowl, beat together softened cream cheese, creamy peanut butter, powdered sugar, and vanilla extract until smooth. It’s important to get rid of any lumps so that your filling is nice and creamy. Then gently fold in whipped coconut cream to lighten it all up. This gives your cheesecake its fluffy texture!
Step 3: Assemble Your Bars
Spread the cheesecake filling over your prepared crust evenly. Use a spatula to smooth it out gently so every bite is equally delicious. If you’re feeling fancy, now is the time to drizzle some chocolate on top!
Step 4: Chill and Serve
Cover your pan with plastic wrap or foil and pop it into the fridge for at least 4 hours (or overnight if you can wait!). Chilling helps the flavors meld together beautifully. Once set, cut into squares and enjoy this tasty treat!
Pro Tips for Making No Bake Peanut Butter Cheesecake Bars
Making these bars is a breeze, but a few tips can elevate your dessert to the next level!
-
Use room temperature cream cheese: This ensures a smooth and creamy filling without lumps, making each bite delightful.
-
Choose fresh ingredients: Using fresh peanut butter and cream cheese enhances the overall flavor, giving your bars that rich, homemade taste.
-
Chill thoroughly: Allowing the bars to chill for at least 4 hours (or overnight) helps them set properly, making them easier to cut and serve.
-
Experiment with crusts: While a graham cracker crust is classic, try using crushed chocolate cookies or even nut-based crusts for different flavor profiles.
-
Drizzle with love: If you opt for the chocolate drizzle, melt it slowly to avoid burning. A warm drizzle adds an elegant touch and contrasts beautifully with the cheesecake.
How to Serve No Bake Peanut Butter Cheesecake Bars
Serving your No Bake Peanut Butter Cheesecake Bars can be just as fun as making them! Here are some creative ideas to impress your guests or family.
Garnishes
-
Chopped peanuts: Sprinkling chopped peanuts on top adds a crunchy texture that complements the creamy bars perfectly.
-
Cacao nibs: These provide a sophisticated touch of chocolate flavor without being overly sweet, balancing out the richness of the cheesecake.
Side Dishes
-
Fresh fruit salad: A vibrant mix of seasonal fruits like strawberries, blueberries, and bananas adds brightness and freshness that pairs well with the rich cheesecake bars.
-
Chocolate avocado mousse: This creamy dessert is both healthy and indulgent. Its smooth texture works harmoniously alongside the peanut butter flavors.
-
Vanilla almond milkshake: A refreshing shake made with almond milk, vanilla extract, and ice cream creates a delightful contrast in textures while keeping it dairy-friendly.
-
Coffee or herbal tea: Serving a warm beverage alongside your dessert can make for a comforting experience. The depth of coffee or soothing notes of herbal tea can enhance the overall enjoyment of the sweet treat.
Now that you have all these tips and serving suggestions ready, it’s time to whip up those No Bake Peanut Butter Cheesecake Bars! Enjoy every delicious moment!
Make Ahead and Storage
These No Bake Peanut Butter Cheesecake Bars are perfect for meal prep! You can whip them up in advance and store them for a delicious dessert anytime.
Storing Leftovers
- Place your cheesecake bars in an airtight container.
- Store in the refrigerator for up to 5 days.
- Keep separated with parchment paper if stacking to prevent sticking.
Freezing
- Cut the cheesecake into portions before freezing for easy access.
- Wrap each piece tightly in plastic wrap, then place in a freezer-safe bag or container.
- Freeze for up to 3 months for the best quality.
Reheating
- These bars are meant to be enjoyed cold or at room temperature.
- Simply take them out of the freezer and let them thaw in the fridge overnight before serving.
FAQs
Here are some common questions you might have about making No Bake Peanut Butter Cheesecake Bars!
Can I use other nut butters instead of peanut butter?
Absolutely! You can substitute almond butter or cashew butter for a different flavor. Just ensure that the consistency is similar so that your cheesecake holds together well.
How can I make No Bake Peanut Butter Cheesecake Bars gluten-free?
To make these bars gluten-free, use gluten-free graham crackers or alternative crusts made from nuts or oats. They will still turn out delicious!
How long do No Bake Peanut Butter Cheesecake Bars last?
When stored properly in the refrigerator, these bars will last up to 5 days, making them great for meal prepping and snacking throughout the week.
Can I add toppings to my No Bake Peanut Butter Cheesecake Bars?
Definitely! Feel free to top your bars with chocolate drizzle, crushed nuts, or even whipped coconut cream for an extra touch of flavor and texture.
What should I do if my cheesecake mixture is too runny?
If your mixture seems too runny, try adding more cream cheese or some powdered sugar to thicken it up. This will help achieve that perfect creamy texture!
Final Thoughts
I hope this recipe brings a smile to your face and sweetness to your day. These No Bake Peanut Butter Cheesecake Bars are not just easy to make; they also deliver a delightful combination of flavors that everyone will love. So go ahead, give it a try, and enjoy every delicious bite! Happy baking (or rather, mixing)!
No Bake Peanut Butter Cheesecake Bars
Indulge in the delightful simplicity of No Bake Peanut Butter Cheesecake Bars, a perfect treat for any occasion. These bars combine creamy peanut butter and a crunchy graham cracker crust to create a dessert that’s as satisfying to make as it is to eat. With no baking required, they come together effortlessly, making them an ideal choice for busy weeknights or family gatherings. Prepare them in advance and store them in the fridge for a sweet surprise whenever you need it. Each bite is rich and creamy, ensuring that these bars quickly become a staple in your dessert repertoire.
- Prep Time: 20 minutes
- Cook Time: None
- Total Time: 0 hours
- Yield: Serves 12 1x
- Category: Dessert
- Method: No baking required
- Cuisine: American
Ingredients
- 1 ½ cups graham cracker crumbs
- ⅓ cup melted coconut oil or butter
- ¼ cup sugar
- 1 cup cream cheese (softened)
- 1 cup creamy peanut butter
- ½ cup powdered sugar
- 1 teaspoon vanilla extract
- 1 cup whipped coconut cream
Instructions
- In a medium bowl, mix graham cracker crumbs, melted coconut oil (or butter), and sugar until combined. Press firmly into the bottom of an 8×8 inch pan.
- In another bowl, beat softened cream cheese, peanut butter, powdered sugar, and vanilla extract until smooth. Gently fold in whipped coconut cream.
- Spread the cheesecake filling evenly over the crust and smooth with a spatula. Drizzle with chocolate if desired.
- Cover and chill in the refrigerator for at least 4 hours or overnight before slicing into squares.
Nutrition
- Serving Size: 1 square (75g)
- Calories: 290
- Sugar: 18g
- Sodium: 180mg
- Fat: 20g
- Saturated Fat: 7g
- Unsaturated Fat: 13g
- Trans Fat: 0g
- Carbohydrates: 28g
- Fiber: 1g
- Protein: 5g
- Cholesterol: 15mg